

Intro: The Room Looks Fine—But Does It Feel Right?
Picture this: you walk in after sunset, switch on the light, and the room is bright but somehow flat. A pendant light company can change that mood in minutes. In homes and cafés, lighting can pull up to 15% of energy use, yet most rooms still rely on dated fittings that wash the space or glare at eye level. When you swap in well-placed interior pendant lights, the visual comfort shifts, the tones pop, and tasks feel easier—yebo, the vibe changes. But how do you know which pendant approach brings comfort, cuts cost, and stays safe over time?
We’re seeing a rise in LED upgrades, dim-to-warm drivers, and smarter control stacks. Still, many buyers get stuck on wattage alone and miss critical things like beam angle, dimming curve, and thermal management. So the numbers say “upgrade,” but the eyes say “maybe not.” Which matters more for real life—lumen output on paper or the way you actually live under that light? Let’s break it down, quick-quick, and see what’s hiding behind the shine.
Hidden Pain Points Most People Miss With Interior Pendants
Why do some pretty fixtures feel harsh?
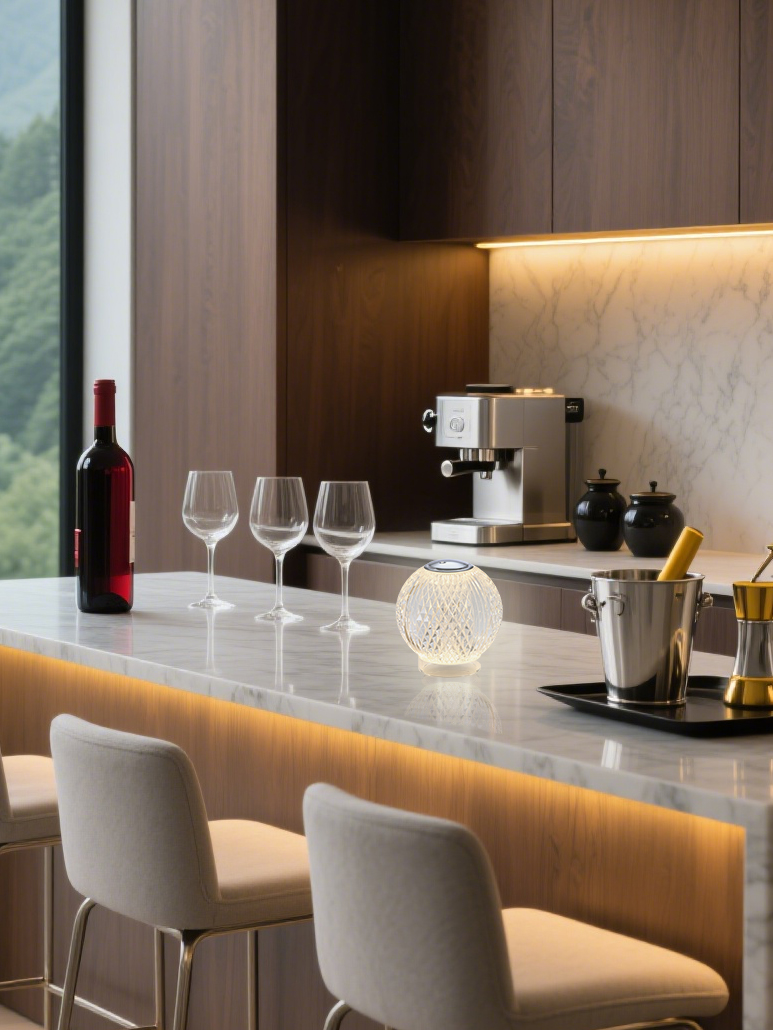
Let’s get technical for a moment. The first trap is glare. A glossy diffuser or a naked filament look can spike your Unified Glare Rating, even if the lumen output seems modest. Another issue is driver circuitry. If the LED driver isn’t matched to your dimmer type, you’ll get flicker at low levels, which strains the eyes and messes with mood—funny how that works, right? Thermal management is the quiet culprit: poor heat dissipation shortens LED lifespan and shifts color temperature over time. And then there’s beam angle. Too wide, and you lose definition; too narrow, and you create hot spots on tables and shadows on faces. Look, it’s simpler than you think: pairing optics and driver with the room task beats raw brightness every day.
There’s also the wiring side. Inrush current from cheaper power converters can trip dimmers or cause buzz. Add mixed loads on a legacy circuit, and you might hear humming when you drop to 10% dim—eish, not ideal for dinner. Plus, many people ignore CRI (color rendering index). Low CRI makes food look dull and skin tones tired. Your pendant should serve the scene: high CRI for dining, stable dimming curve for lounges, and balanced diffuser optics for work nooks. Miss these, and even premium fixtures feel like a compromise.
Comparing What’s Next: Smarter LEDs, Calmer Rooms
What’s Next
Forward-looking pendants lean on new technology principles: constant-current drivers with low ripple, better thermal paths, and advanced diffuser geometry to control glare without killing contrast. Some systems tie into simple sensors or edge computing nodes at the switch box—no heavy hubs—so you get daylight trimming and scene recall with minimal fuss. When you compare a generic pendant to a tuned design, the difference shows in the dimming curve, not just the spec sheet. A well-built acrylic led pendant light spreads light more evenly because the polymer optic can shape the beam while keeping luminance comfortable. You feel it as calm light on surfaces and relaxed faces. No strobe. No buzz. Just smooth control.
Case in point: two dining spaces, same table size. The first uses a wide-beam pendant with a basic TRIAC driver; it looks bright at 100% but shimmers on video and glares at 30%. The second uses an acrylic optic with a high-CRI array and a dim-to-warm driver; it softens to 2700K at night, keeps the glare index low, and still picks up texture in wood grain—people linger longer. That’s the real-world impact. And as controls get friendlier (Bluetooth mesh, soft-start power), commissioning drops in cost—meaning better results, faster. The lesson? Match optics, drivers, and controls to the task, not just the style.

How to Choose With Confidence
We’ve seen how glare, drivers, and optics drive comfort, efficiency, and lifespan. To pick well, use three check points that you can actually measure. First, comfort metrics: ask for UGR guidance, beam angle, and CRI ≥90; check for low flicker under dimming. Second, system stability: confirm driver compatibility with your dimmer type, low ripple current, and sensible thermal management (vents or heat sinking). Third, task fit: verify lumen targets for the surface you care about (table, island, reading zone) and test the dimming curve at 10–20% in your space—trust your eyes. Do this, and you’ll get a pendant plan that feels right day and night—no guesswork, bru. For more grounded options and specs you can read without a microscope, see kinglong.