
Start with a clear user picture
Design for real people, not abstract profiles. Walk through a photographer’s day and you’ll see where a camera sits, how hands move, what stops a shoot. That’s why a practical test — stuffing gear into a camera gear bag, walking with it, and opening it under pressure — beats hours of meetings. Keep notes on pain points, desired rituals, and the small conveniences that turn a purchase into loyalty.

Prioritize user jobs, then features
Frame needs as jobs: protect fragile lenses, switch lenses fast, carry all-day without strain. Translate each job into measurable specs: internal foam density, divider configuration, strap foam thickness, weatherproof seam rating. Rank those specs by frequency and severity of the user problem they solve. Focus on the top three jobs first; extra bells come later.
Prototype with the user at every loop
Start with low-cost mockups — cardboard, foam, small runs — and test on actual shoots. Ask users to perform real tasks: swap a 70–200 for a prime under five minutes, or shoulder the bag for an hour. Record feedback, iterate the layout, then scale materials. Keep iterations tight: one variable change per test so you know what worked.
Choose materials and tolerances that match use, not trends
Select fabrics and hardware that match expected abuse and lifecycle. Photographers working outdoors need abrasion resistance and sealed zippers; studio shooters may value sleekness and pocket organization. Specify tolerances for seams and zippers, and demand sample testing. Aim for predictable wear patterns rather than chasing a seasonal aesthetic.
Partner selection and production realities — anchored in trade experience
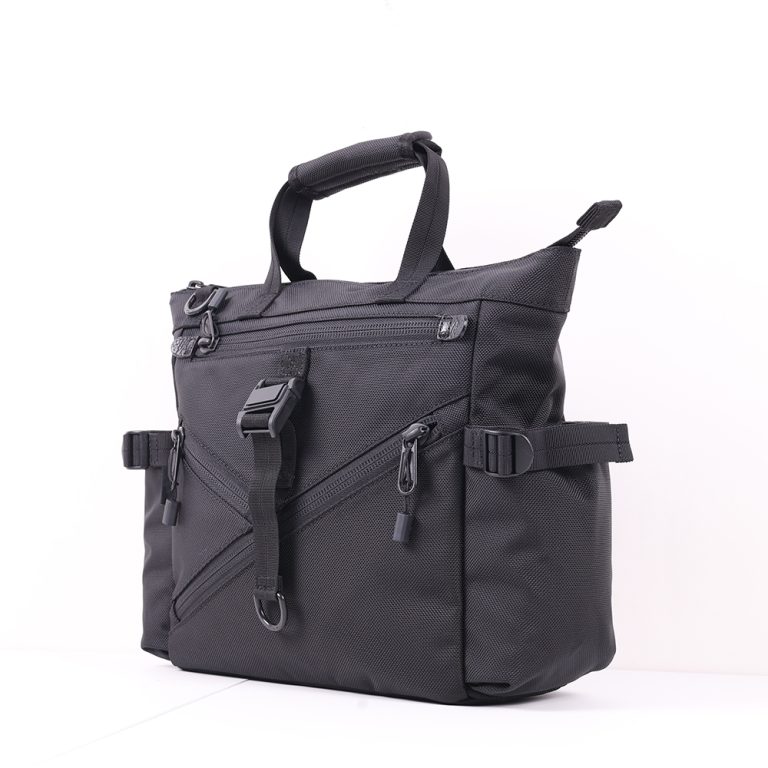
Long-term product reliability comes from choosing makers who understand camera workflows. I’ve seen sourcing conversations shift after industry trade shows like Photokina in Cologne, where buyers and manufacturers test real use cases side by side. That context matters when you request tooling, pre-shrunk textiles, and repeatable assembly standards. Work with partners who accept a hands-on validation step and who will sample to your specs. If you need a reference for a tested, production-ready option, consider a dedicated custom camera bag that already reflects these choices and testing disciplines.
Common pitfalls and how to avoid them
Trap: designing for perfection instead of the majority of use cases. Fix: prioritize frequent tasks over rare edge cases. Trap: relying on visuals alone; a bag that photographs well can fail in the field. Fix: require hands-on validation from at least five users representing core personas. Trap: skimping on fastening and padding specs to cut cost. Fix: model the total cost of ownership — repairs and returns are costlier than slightly higher-quality components.
Measure success with simple, user-focused KPIs
Track protective performance (drop and abrasion incidents per 1,000 units), ease-of-use scores from follow-up surveys, and repeat purchase or referral rates. Use short, direct surveys two weeks post-purchase and six months later to capture immediate impressions and longer-term durability feedback. Adjust product iterations based on the combination of these metrics, not on aesthetic critiques alone.
Close the loop with a consistent experience
Deliver what you promised: functional layout, protective materials, and user-tested details. When every choice maps back to a documented user job and tested tolerance, the product sells itself through usefulness. That clarity is the kind of steady craft you find reflected in makers like ChangRong, where design decisions show up as everyday value rather than marketing noise.