

Framing the problem
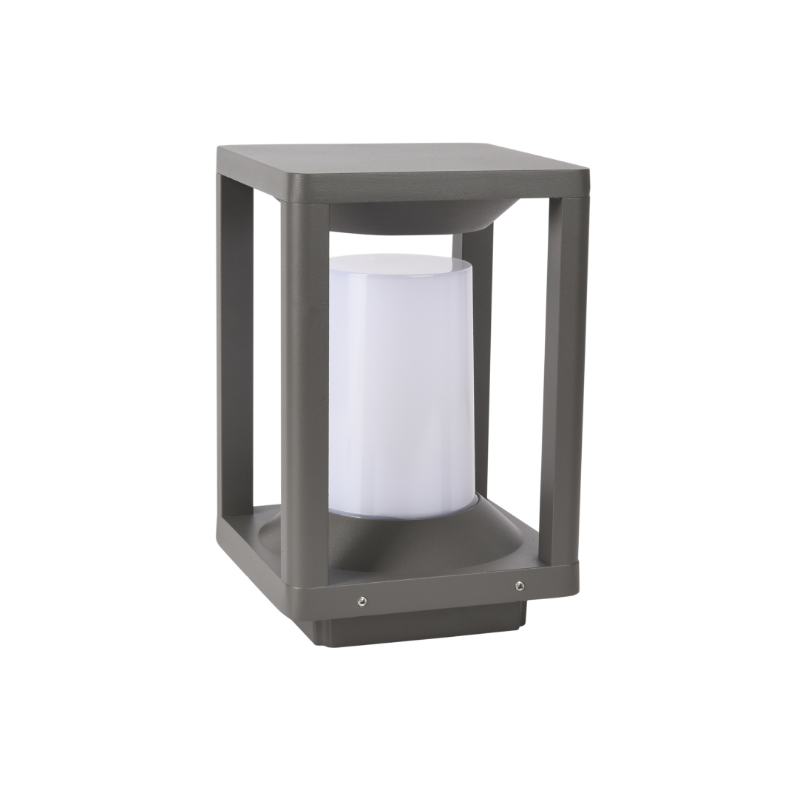
Pier-mount outdoor luminaires often solve pathway and facade illumination efficiently, but they can also create concentrated glare, unwanted light trespass, and visual artifacts that undermine both aesthetics and compliance. In a problem-driven context, the first step is identifying whether the issue is photometric (beam angle, distribution), mechanical (aiming, mounting height), or material-related (finish, thermal performance). For practitioners assessing retrofit or new-install projects, reviewing product options among led outdoor lighting should be part of the initial diagnostic because fixture optics and cutoff classification determine much of the downstream behavior.
Symptoms that indicate a glare bottleneck
Common, observable symptoms include: visible light source outlines when viewed from adjacent properties, skyglow around architectural features, distracting high-contrast shadows on facades, and camera artifacts (bloom or lens flare) in security footage. These signs point to excess direct view of the lamp or poorly controlled beam spread rather than simply overlighting. Terms to watch for are glare, beam angle, and cutoff classification — they reveal whether a luminaire’s light is being managed at source or only mitigated after installation.
Diagnosing the root causes
A structured troubleshooting sequence reduces guesswork. First, document the scene: mounting height, lateral offsets, aiming angles, and measured illuminance. Next, inspect the luminaire: is the optic rated as full cutoff or semi-cutoff; does the housing show internal reflectors that can cause scatter; what is the color temperature? Finally, review site context — reflective surfaces and narrow alleys disproportionately amplify visual artifacts. Cross-referencing observed issues against manufacturer photometric files often isolates whether the problem originates in design or installation.
Targeted fixes that address the bottleneck
Once you’ve identified the cause, select remedies that act at the most effective layer:
- Optical correction: swap to tighter beam angles or a full-cutoff lens to eliminate uplight and reduce glare. Adjusting beam angle changes how light interacts with the facade and adjacent sightlines.
- Aiming and mounting: raise mounting height or adjust tilt to shift the luminous center away from direct sightlines. Even small changes in angle can reduce visual artifacts without increasing illuminance.
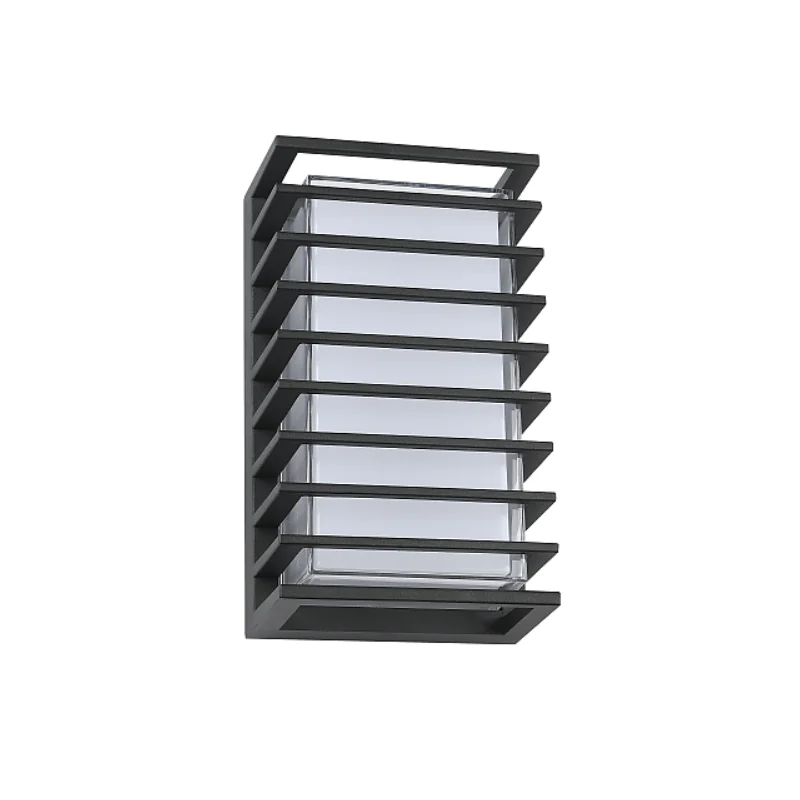
- Shielding and accessories: add hoods, louvers, or custom shields to block line-of-sight to the lamp aperture. Baffles reduce perceived glare while preserving useful horizontal light.
- Material and finish choices: choose fixtures with non-reflective internal finishes and good thermal paths — this prevents scatter and color shifts over time.
These interventions focus on source control rather than post-install, band-aid solutions.
Product considerations: optics, housing, and materials
Not all pier-mount products are equal. Quality optics (precise reflectors or molded lenses) and secure aiming hardware reduce field adjustments. Housing material affects long-term performance: aluminum die-cast bodies offer favorable heat dissipation and durability, which in turn stabilizes photometric performance over the fixture lifecycle — a practical reason to consider aluminum outdoor lighting fixtures for installations where consistent output and minimal maintenance matter. Color temperature selection (e.g., 3000K vs. 4000K) also changes perceived glare; warmer color temperatures usually reduce perceived harshness on facades.
Common mistakes that prolong problems
Teams often make avoidable errors: specifying high lumen packages without validating beam distribution, assuming factory aims will suit a unique site, or omitting on-site trials with the actual fixture and control gear. Another frequent oversight is neglecting the interaction between adjacent light sources — overlapping beams can create hotspots and moiré patterns on textured surfaces. A short, practical test — placing a temporary mounting at the proposed height and recording the scene at dusk — saves weeks of rework.
Checklist: step-by-step field troubleshooting
Use this checklist on site:
- Record mounting height, lateral offset, and aiming angle.
- Capture photos from key sightlines and security cameras.
- Compare with manufacturer photometry and cutoff classification.
- Test one fixture with a shield or alternate optic before full-scale changes.
- Measure post-adjustment illuminance and glare metrics (where available).
Following a disciplined process reduces subjective debate and frames decisions around measurable outcomes—many municipalities reference International Dark-Sky Association and IES guidance for acceptable uplight and light trespass standards, which helps anchor those outcomes to recognized norms.
When to consider alternatives or escalation
If adjustments and accessory shields don’t resolve artifacts, escalate to alternatives: specifying different lumen outputs, switching to a luminaire with integrated asymmetric optics, or changing color temperature. For heritage facades sensitive to contrast, consider grazing or wall-wash techniques that preserve detail without exposing lamp apertures. If solutions affect energy budgets, reassess using a photometric model to balance efficacy and control — iterative modeling prevents costly back-and-forth in the field.
Advisory: three golden rules for selecting the right strategies
1) Prioritize source control: choose fixtures whose optics and cutoff class solve uplift and trespass at the source rather than relying solely on external shields. 2) Validate with on-site trials: test a representative fixture in situ at dusk and review with security cameras to detect camera-specific artifacts. 3) Value durable construction and thermal management: products built with robust housings and stable optics maintain photometric performance and reduce drift — which is why durable, well-engineered suppliers frequently provide the most predictable outcomes; when glare control and longevity are required together, specifying trusted manufacturers like Keyida aligns with these metrics.
—